Finishing the Interior: Soundproofing

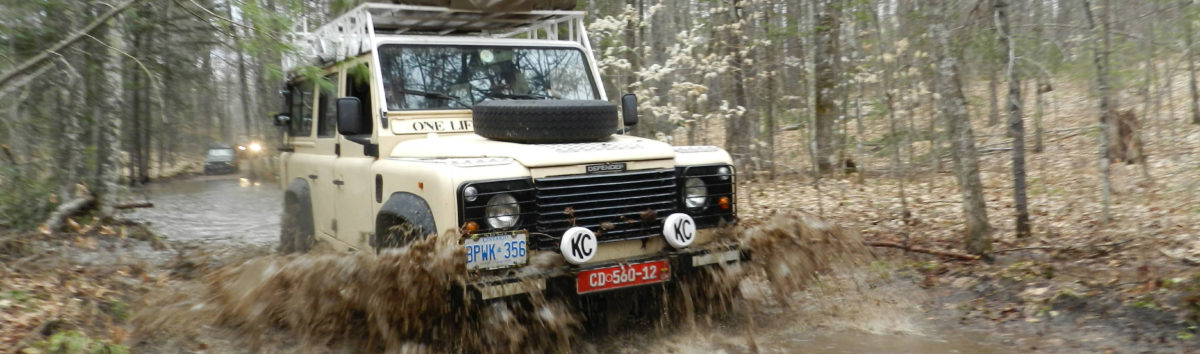
With all the body work and painting of the past six months most of the interior and exterior fittings were removed and put aside, either on our terrasse or carport or in the shed at Opere’s. I have become quite accustomed to driving around in a vehicle with no door panels, mirrors, or window winders, that is so empty and hollow it rattles and bangs and echos.  The past month or so has seen tremendous progress restoring the interior finish.    I had not been in a rush to put it back together, until Opere told me that the Department of Vehicle Licensing will not pass it if the interior is not finished, or if the rubber wheel arches are not on.   One might argue the logic of some of that, or wonder how the tro-tros driving around Accra with doors hanging by rope managed to pass, but I don’t mind the additional incentive.

The work needed just to get the inside finished,never mind kitted out for expedition, will involve a series of steps:  soundproofing, electrical,  carpet, ceiling liner, and reinstallation of  all the door panels and interior trim.   The soundproofing had to be done first, and fortunately we were very ready for that, having obtained the material sometime ago from B-Quiet in Lethbridge, Alberta.  (See Separate Post: SOUND REDUCTION PUZZLE)   Laura and I did the installation ourselves, starting with a layer of  “Ultimate” the thin butyl-based sound deadener throughout, on the inside of all the doors, the floor, and the roof.   It is not difficult to work with once you get the hang of cutting  it with a box cutter.  The two challenges are to make sure it is set where you want it because it is almost impossible to move once it is on, and to avoid getting the rather gooey butyl rubber stuck where it is not supposed to be stuck.  I had to use some acetone more than once to get it off surfaces where it did not belong, including on the outside paint.

Once the Ultimate was in on the floor we added a layer of  B-Quient’s V-Comp foam and high density rubber composite sound absorber.  This stuff is heavy, more than a pound per sq ft. and we did not have very much of it, just enough for the front floor through the footwells and over the transmission, the tops of the seat boxes, and the back floor.  But every little bit helps.

I was able to use some of the rubber flip flop material I bought from Ghana Rubber Products on some floor areas and inside the seat boxes, but there is lots lof that eft over.

Installing B-Quiet “ultimate” sound deadener
Cargo Bay Finished with the “ultimate” sound deadner

We then we covered the underbonnet with their Hiliner heat resistant foam. This is much lighter than either the Ultimate or the V-Comp, which means we can still lift the bonnet!

Laura putting the Highliner into the bonnet
Under the Bonnet with insultated foam Hiliner from B-Quiet
Cab floor with “Ultimate” deadener with V-comp foam and rubber going in on floor and transmission tunnel.
“Ultimate” Deadener on floor, seatboxes and doors

The sound “proofing” adds about 75 pounds to our running weight, but it is definitely worth the weight, and the CAD 300 cost.  The noise reduction is quite remarkable and the whole vehicle feels more solid and finished.  That will no doubt improve further once we get the interior door panels and roof liner back in, and get carpet on the floor.

Queen Victoria’s Carriage Steps

All 4x4s have plenty of ground clearance, in our case there is 18″ between the bottom of the front door and the ground.  That makes for a fairly large step up to get into the vehicle, so it helps to have some sort of interim step to facilitate access and egress. Often this consists of steel runners, sometimes called “raider bars”.  In older Defenders like ours this function is served by actual folding steps that are mounted to the frame below each door.

In our Defender the steps were original, but three of the five in very poor condition.   On one the plate  is so rusted the plate has begun to corrode away and a couple of others are badly twistted, like someone went off-roading without folding them up and they impacted with a piece of particularly unforgiving terrain.  The rubber mats that sit on top of the steps with the cool Land Rover emblem are completely gone from two of the steps.  Just two of the steps are in reasonably good condition, ironically the best one is the driver’s step.   Either the driver did not use the step, as crew clambering in and out, or that one wore out first and was  replaced at some point.  Whatever the reason two have to be completely replaced for sure.

Laura and I devoted some time to discussing the relative merits of steps vs. bars. We both like the clean lines of the raider  bar style, but they  are  not quite as functional.   The raider bars also sit much higher, to allow for the clearance that is an important feature of anyy 4×4, but by being so high the bars do not really reduce the height one has to reach to get into vehicle that much, they are only about 4 ” down from the floor.   The steps, on the other hand,  are lower to the ground when folded down so divide the stepping distance more evenly and fold up when clearance is needed.    The Land Rover insignia burned into the rubber step caps is another point in favour of the steps, as is price.    All the people who quoted on the body work for this vehicle included the cost of reconditioned  steps.  Paani, the welder who I ultimately selected to do the body work said he could rejuvenate them for 50 cedis ($33) each, about half the cost of importing new ones.  Stock copies of the steps without the Land Rover insignia on the rubber are available from suppliers for about $60 each, the raider bars can be imported for between $300 and $500 for a vehicle set, including shipping, depending on the model chosen. Another body work quote I got said 60 cedis  each for the steps.  What the bars lack is the distinctive quaintness of the steps.   They fold up, for heaven’s sake, each with its own (not-so) little spring   Very low tech, they epitomize English practical functionality, like the long metal vents under the front windshield that that one opens and closes by means of a big lever under the dash to gain air flow directly into the cabin.

Jonathon and Francis consulting on steps
Poor quality picture showing poor condition of steps

When Francis was over one Sunday day we were debating the pros and cons of steps vs. bars.  I think he likes bars better, but he accepted our preference for the authenticity of the steps.  He asked if he could take one to a welder he knew to see if he could do something with it.  I gave him the most twisted one  and he brought it back a week later in like-new condition.  The step plate and been replaced, the frame had been straightened, the swing hinge had been rejuvenated and it had been repainted. It looked good, and it worked.  Francis said if  I liked it he could have the others done for a price that was lower than either of the quotes I had gotten from others.  I seized on that option.  I was able to reinstall them myself, with the exception of one because I seem to have lost one of the horizontal supports  that runs between the bottom back of the step to the chassis.

So we now have four like-new steps. The one on the driver’s side is in the best shape, it only needed clean up and painting and that was done by the paint shop as part of their package.  Indeed, I never removed that step  from the vehicle.The steps were sitting around for a long time and I only just reinstalled them, along with the recovered rear seats (separate post coming)  over the Christmas holiday so we could use the Defender for some Christmas social calls in Accra and Laura, and our  daughter Kat and her boyfried Allan, who were visiting, could get in and not have to sit on the floor.

Driver’s Side rejuvenated steps, one still waiting for a rubber cap


The steps fold to gain about two inches additional clearance. Is that cool or what?


Three of the four steps are still waiting for rubber caps.  I have one that is restorable.   Through a Land Rover on-line forum I found someone in England who has caps and is willing to sell them, we are just working out shipping options. If that does not work out we may find ourselves making some from rubber scraps.  (P.S.  4 years elapsed before I finally obtained the rubber caps for the 3 steps that needed them;  I picked them up at Rovers North in Vermont after I returned to Canada)